
The Basics of Grooming a Dog at Home

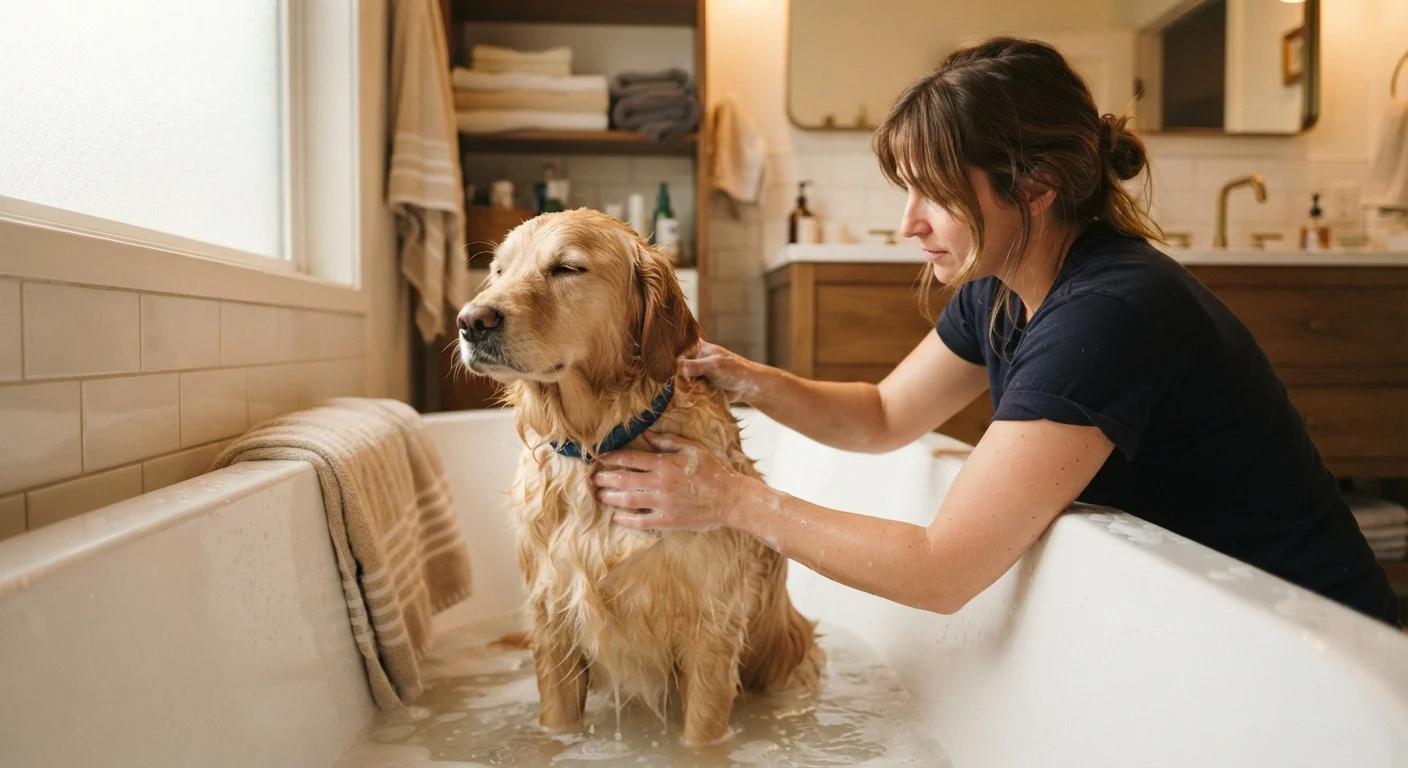
Step-by-step guidance on brushing, bathing, nail trimming, and ear cleaning for dogs, including tips on making the process less stressful.
Key takeaways
- Brushing frequency depends on coat type, from daily for long coats to weekly for short ones.
- Bathing too often strips natural oils; most dogs do well with a bath every four to six weeks.
- Nails need trimming when you hear them clicking on hard floors.
- Ear cleaning is only needed when ears look dirty or smell mildly off.
- Short, positive grooming sessions from puppyhood reduce stress for both dog and owner.
- Skin changes, lumps, or persistent odors found during grooming warrant a veterinary check.
Why grooming at home matters
Home grooming does more than keep a dog looking tidy. Running a brush through the coat, checking the ears, and handling the paws regularly gives you a consistent view of your dog's body. You are likely to notice a new lump, a skin irritation, or a swollen nail bed well before it becomes a serious problem.
Grooming also shapes how comfortable a dog is being touched and handled, which matters during veterinary exams. A dog that has been gently handled around the ears, mouth, and paws since puppyhood is far less likely to become distressed in the clinic. For dogs adopted later in life, patient and consistent home handling can still build that tolerance over time.
For a broader picture of establishing a care routine, see the first-time dog owner daily care guide, which covers grooming alongside feeding, exercise, and vet care.
What you will need
What you need before you start
Having the right tools on hand makes each session faster and more comfortable for your dog. The specific items depend on coat length and texture. For a detailed breakdown of which tools suit which coat types, the dog grooming tools overview is a useful companion to this guide.
Slicker brush
Removes loose fur and minor tangles from medium to long coats.
Bristle brush
Smooths and distributes natural oils across short or smooth coats.
Dematting comb
Works through stubborn mats in long or double-coated breeds without pulling the skin.
Dog nail clippers (scissor or guillotine style)
Trims nail length safely when used at the correct angle.
Styptic powder
Stops minor bleeding quickly if a nail is accidentally cut into the quick.
Veterinarian-approved ear cleaner
Loosens wax and debris inside the ear canal for safe removal.
Step-by-step grooming process
Work through the steps below in order. Completing them in the same sequence each time helps your dog learn what to expect, which tends to reduce resistance. Keep sessions short at first, especially for young or anxious dogs, and pair each step with calm praise or a small treat.
Brush the coat thoroughly
Brush before bathing, not after. Wet fur tightens existing mats, making them much harder to remove. Work section by section from the skin outward, going in the direction of hair growth. For dogs with double coats, use an undercoat rake to reach the dense layer beneath the outer fur.
Short-coated dogs generally need brushing once a week. Long or double coats may need daily attention, particularly during seasonal shedding periods.
Bathe with lukewarm water and dog shampoo
Wet the coat fully before applying shampoo, then work the lather from the neck toward the tail. Avoid getting water or shampoo directly into the eyes and ears. Use a washcloth for the face.
Rinse thoroughly. Shampoo residue left in the coat can cause itching and skin irritation. Run your fingers through the fur during rinsing until the water runs completely clear.
Dry the coat completely
Towel-dry first to remove most of the moisture, then use a low-heat blow dryer if your dog tolerates it. Keep the dryer at least six inches from the coat and move it continuously; concentrated heat on one spot can burn the skin.
Dogs with dense undercoats can stay damp close to the skin for hours after towel drying alone. A damp undercoat in a warm environment can encourage bacterial or fungal growth, so complete drying matters more for these breeds.
Trim the nails
Clip small amounts at a time, angling the clippers at roughly 45 degrees. In dogs with light-colored nails, the pink quick is visible and easy to avoid. In dark nails, cut a tiny sliver at a time and stop when you see a dark dot appear at the center of the cut surface; that dot indicates you are near the quick.
If you cut into the quick and bleeding starts, press styptic powder firmly onto the tip for several seconds. The bleeding is minor and stops quickly in most cases.
Clean the ears
Squeeze a small amount of ear-cleaning solution into the ear canal, then gently massage the base of the ear for about 20 seconds. Allow your dog to shake their head, then wipe away loosened debris from the outer canal using a cotton ball. Never insert cotton swabs into the canal.
Healthy ears are pale pink, odor-free, and produce only minimal light-colored wax. Clean only when there is visible dirt or mild wax buildup. Over-cleaning can irritate the canal lining.
Troubleshooting common problems
Even with good preparation, some dogs resist part of the grooming routine. If your dog pulls away during nail trimming, try touching and holding the paw for several seconds during non-grooming moments throughout the day. Reward calm behavior, then gradually introduce the clipper sound before attempting a trim. Progress can take days or weeks; that pace is normal.
A dog that consistently struggles with grooming despite positive conditioning may benefit from guidance from a certified professional dog trainer. The training and behavior hub has resources on working with a trainer and building cooperative handling skills.
If you notice anything unusual during grooming, including unusual odor from the ears, discharge from the eyes, thickened or discolored nails, or any lump that was not there before, contact your veterinarian rather than waiting to see if it resolves.
This article is for general informational purposes and is not a substitute for professional veterinary advice. Always consult a licensed veterinarian about your individual dog's health needs.
The content on this site is for informational purposes only and is not a substitute for professional advice. Always consult a qualified professional for guidance specific to your situation.